
A railway in the loft · OO gauge
Middleton
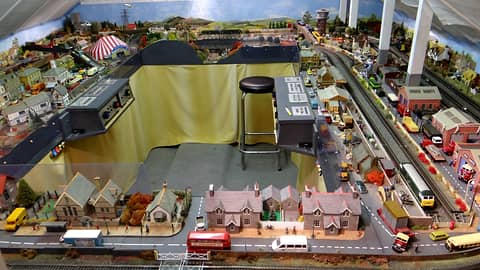
Grandad’s layout, built around an operating well in his loft: a market town and a circus, a quarry, a busy freight yard, and a station called Middleton.
The operating well, with the stool between its two control panels.
For Grandad
The railway in the loft
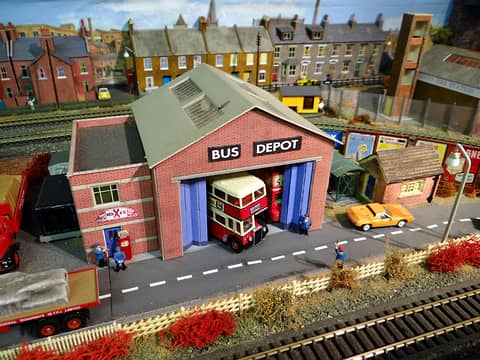
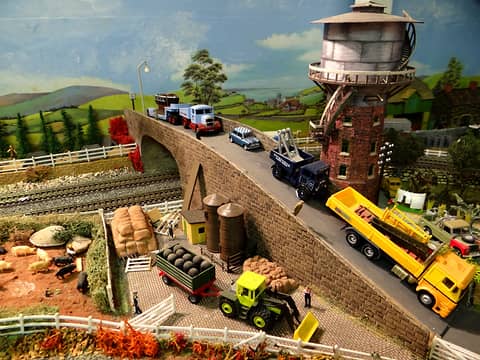
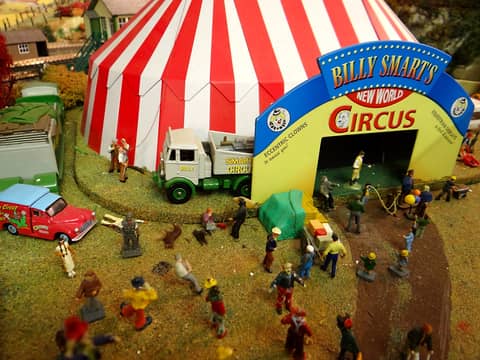
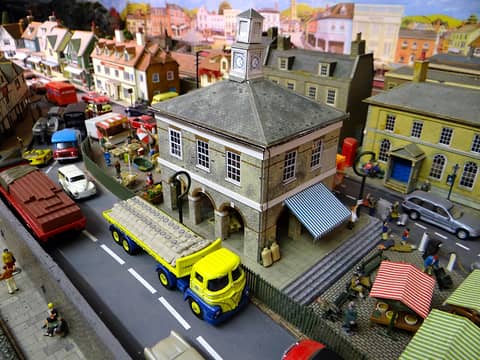
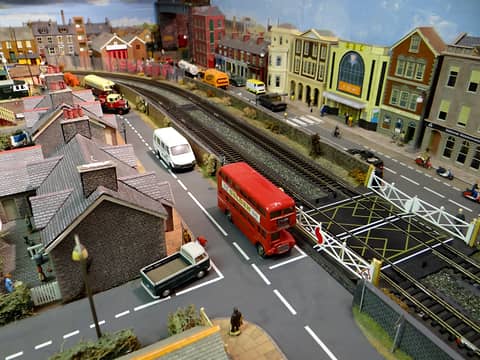
Grandad’s layout filled the loft. A long aisle ran between two loading bays, where the trains were put on the track, to a fold-up section that lifted to let you into the operating well. From there the layout wrapped all the way round: a market town and a circus, farms and girder bridges, a bus depot, a brewery, a busy high street, and Joshville, the station he named after his grandson.
These ninety-two photographs were taken on Saturday 21 July 2012, in two visits to the loft: one at about five o’clock, and another at about half past seven.
The tour follows the way you would walk round it, stop by stop. Every photograph opens full screen and can be zoomed into, gold markers point out the small scenes he set up, and each one can be compared with the original.
The tour
Round the layout in ten stops


The layout from above
Round the loft
Along the aisle past the loading bays, in through the fold-up section, and round the operating well. Pieced together from the photographs and family memory, and not to scale.
- IThe Loft
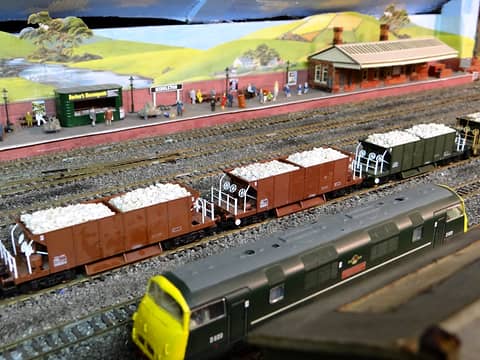
- IIMiddleton Station
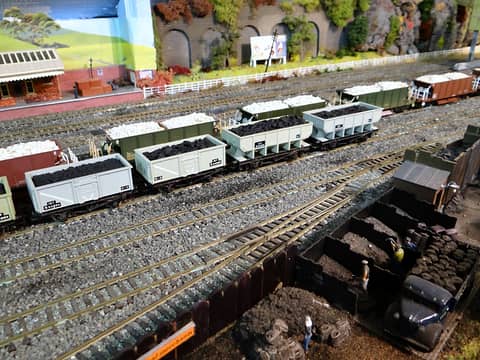
- IIIThe Yard
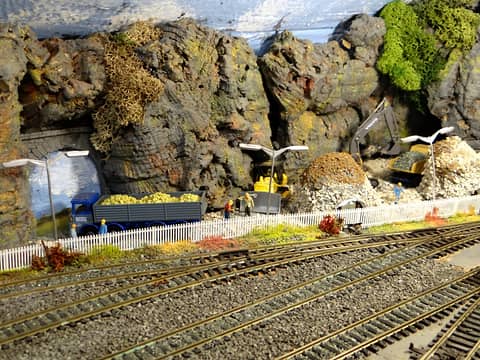
- IVThe Quarry
- VTown & Industry
- VIThe Countryside
- VIIThe Circus
- VIIIThe Market Town
- IXThe High Street
- XBehind the Scenes

The photographs
Restored, with the originals kept
The photographs were taken with a compact camera under the loft’s warm lights, which gave everything a yellow cast and left the corners dark. Each one has been gently restored: the colour balanced, the shadows lifted and the detail sharpened, with nothing added or taken away.
The originals are kept exactly as they were taken. In the viewer, switch to Original to compare, or zoom in to see the layout in full detail.
- Photographs 92
- Taken Saturday 21 July 2012
- First visit 17:05 to 17:38 · 47
- Second visit 19:23 to 19:52 · 45
- Camera Sony Cyber-shot DSC-HX200V
- Scale OO gauge, 1:76